
How to Make Nail Tips — Materials & Step-by-Step Guide for Beginners
Learn what supplies you need and the basic steps to apply nail tips at home — from prep and sizing to shaping and finishing. Plus tips for longer wear and when to book a pro.
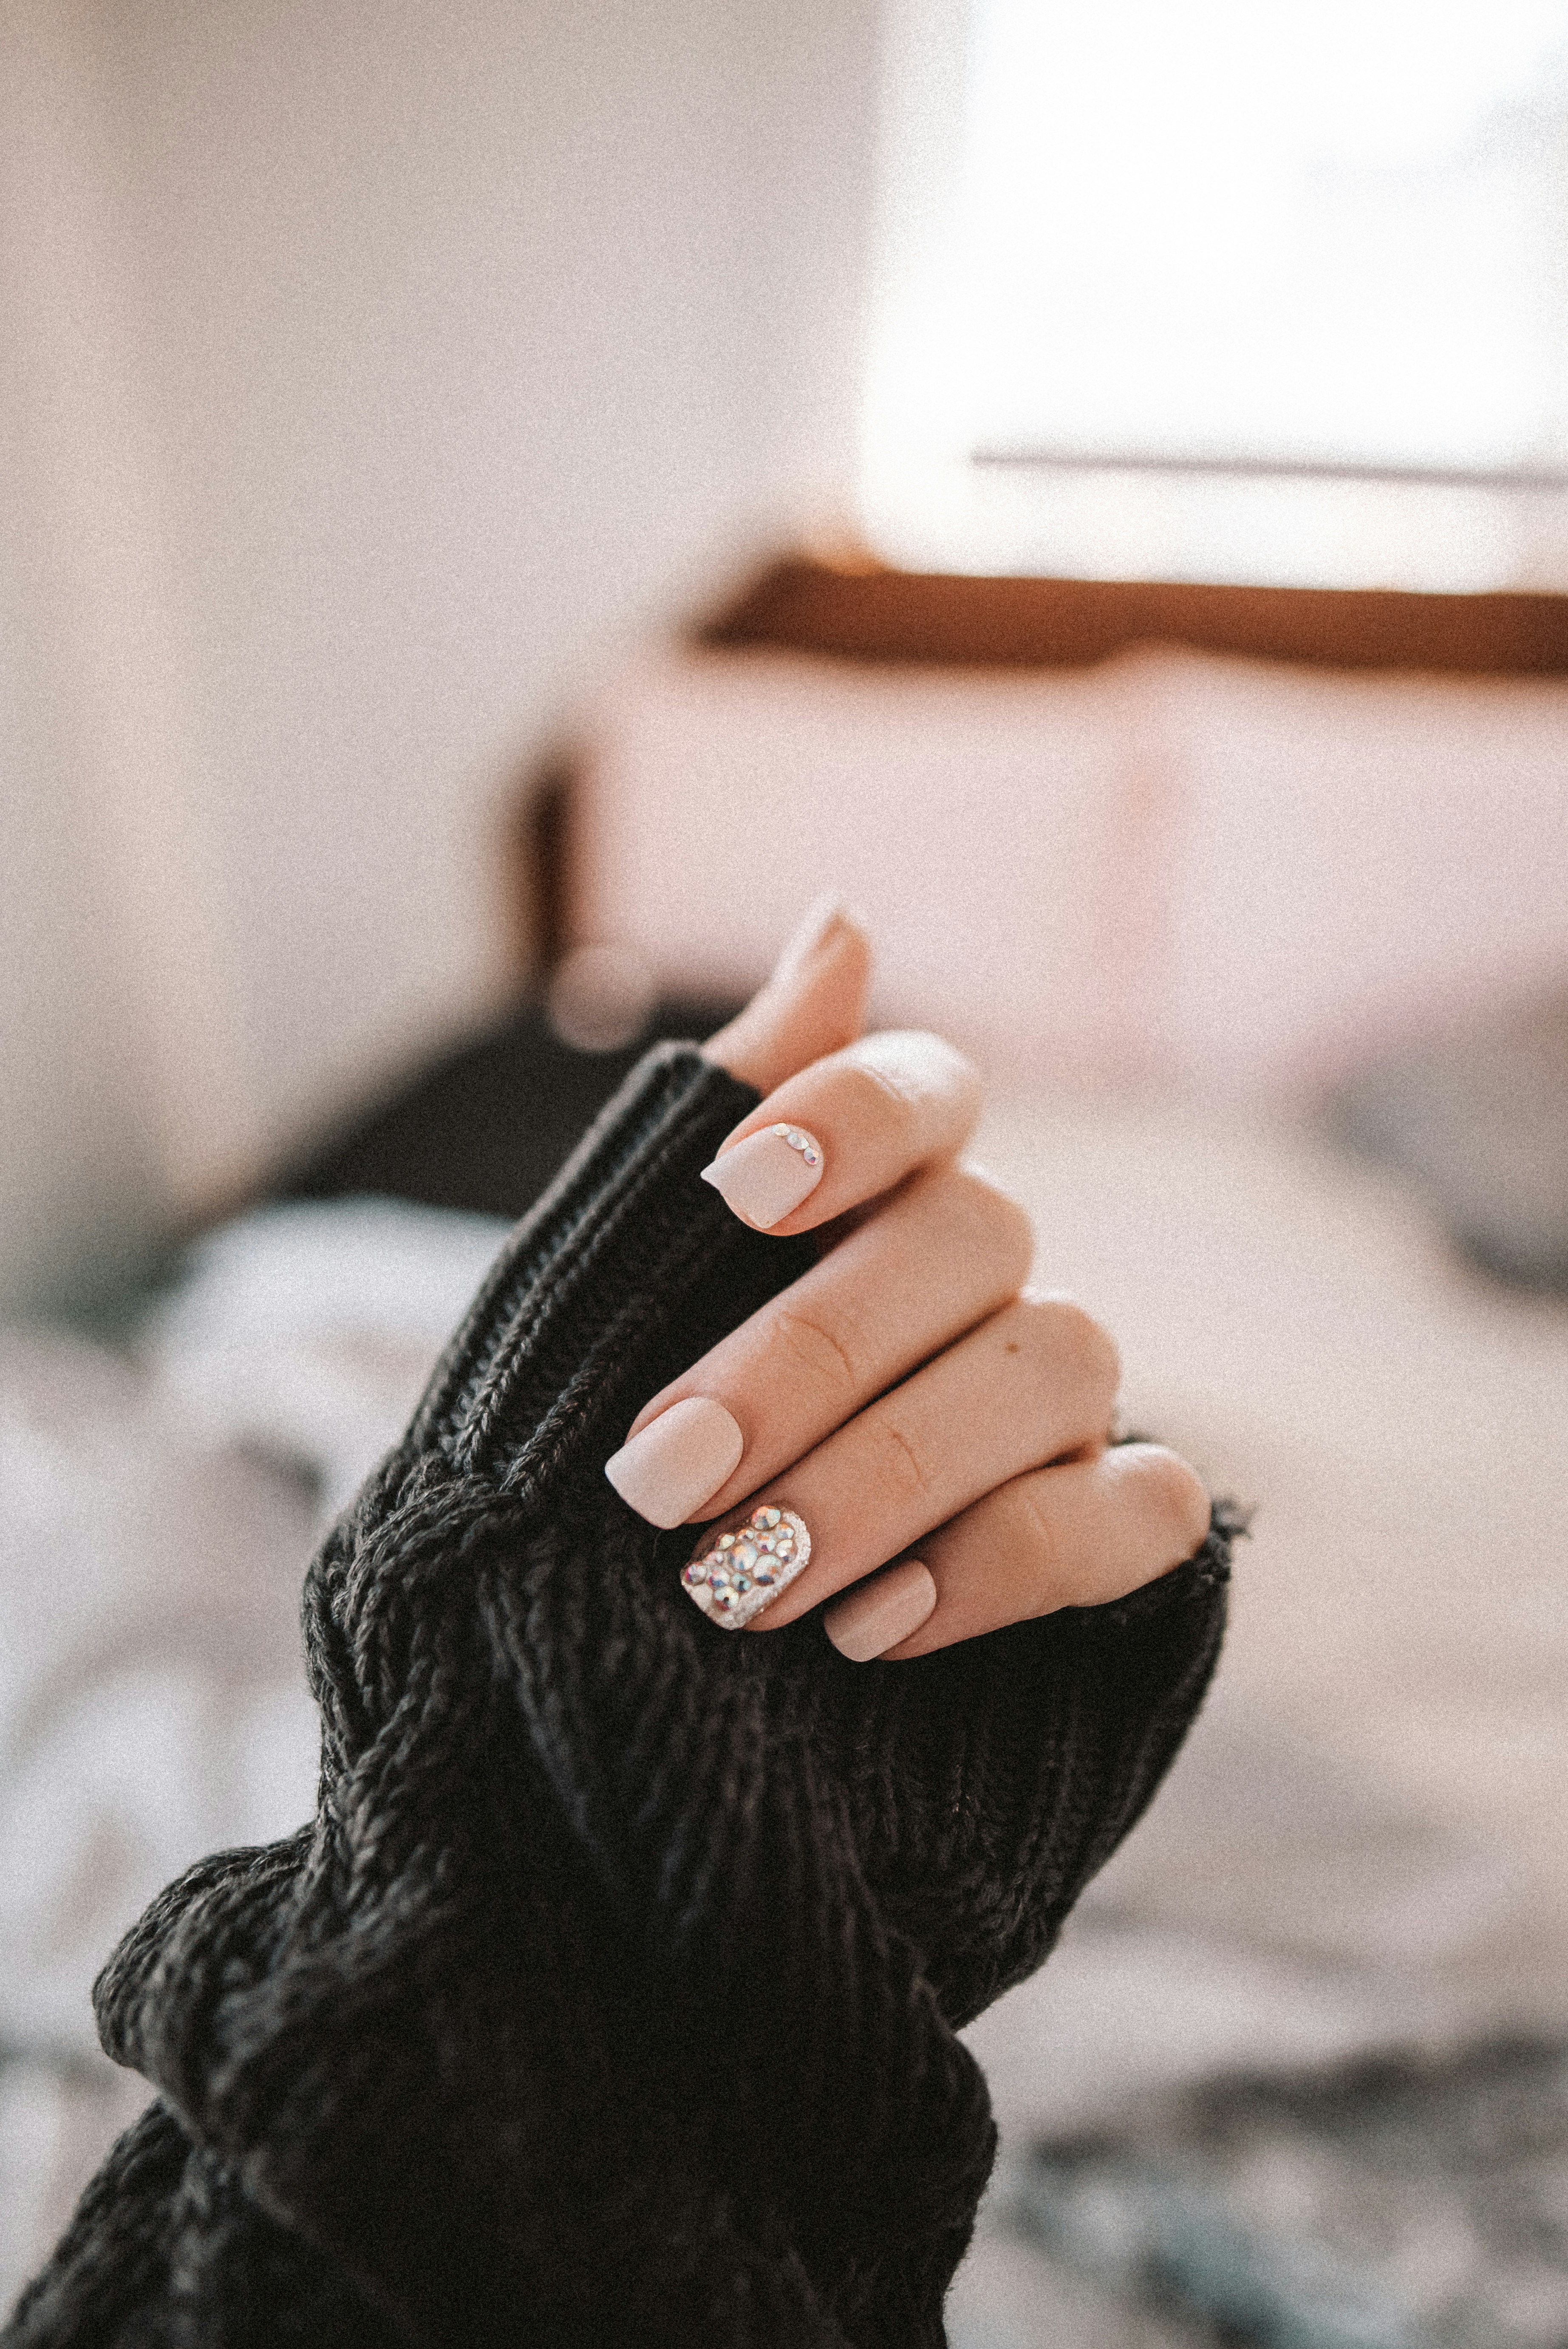
What are nail tips?
Nail tips are artificial nail extensions applied to the free edge of your natural nail to add length and shape. Salons often use them as a base for gel or acrylic overlays (tip-and-overlay). At home, many people start with press-on tips — pre-shaped nails with adhesive already applied.
This guide covers the basics of making and applying nail tips at home, including the supplies you need and the step-by-step process.
Supplies you'll need
Essentials
| Category | What to get | Why you need it |
|---|---|---|
| Tips | Clear or pre-colored nail tips (10–12 sizes per set) | The base for length and shape |
| Adhesive | Nail glue or double-sided tip tape | Attaches tips to your natural nail |
| File | 100–180 grit nail file | Trims length and refines shape |
| Buffer | Sponge buffer (180–240 grit) | Smooths the surface |
| Primer | Non-acidic nail primer (optional but recommended) | Improves adhesion and wear time |
| Dehydrator | Nail cleanser or alcohol prep pads | Removes oils from the nail plate |
| Pusher | Cuticle pusher | Gently pushes back cuticles |
Nice to have for design and finishing
- Base coat — protects your natural nails and the tips
- Color gel or polish — adds your chosen shade
- Top coat — adds shine and durability
- Brush set — for applying gel products
- UV/LED lamp — required if using gel polish
- Acetone or remover — for clean removal if something goes wrong
First time? A press-on kit with pre-applied adhesive is the easiest way to start — fewer products to buy upfront.
The basic process (5 steps)
Step 1: Prep your nails
- Remove any existing polish or enhancements with remover
- Trim nails short and file the free edge smooth
- Gently push back cuticles with a pusher
- Lightly buff the nail surface to remove shine
- Wipe with dehydrator and let dry completely
Tip: Oils on the nail plate are the main reason tips pop off early. Avoid doing your nails right before or after eating greasy food.
Step 2: Find the right size
Test a tip on each finger before you glue anything down.
- Choose a tip that is slightly wider than your natural nail
- File the sides down if the tip is a bit too wide
- A tip that is too small will lift at the edges and crack more easily
Match all ten fingers — thumb, index, middle, ring, and pinky — before you start applying.
Step 3: Apply adhesive
With nail glue
- Apply a thin layer of glue to the inside base of the tip — don't over-apply
- Hold the tip at a 45° angle, seat it at the cuticle, and press down slowly
- Hold firm pressure for 10–15 seconds
- Wipe away any glue that squeezes out immediately
With press-on tape
- Peel the backing film off the adhesive tab
- Press from the cuticle area toward the free edge
- Hold pressure for about 30 seconds
Step 4: Shape and refine
- File to your desired length
- Refine the sides and free edge (square, oval, almond — whatever shape you prefer)
- Buff away visible seams between the tip and your natural nail
- Brush off dust and dehydrate one more time
Step 5: Color and finish
- Apply a thin base coat and let it dry or cure
- Apply color in up to two thin coats, fully drying or curing between layers
- Seal with top coat
- After curing, file any excess product off the free edge and apply a final thin top coat for a clean finish
Common beginner mistakes
| Problem | Likely cause | Fix |
|---|---|---|
| Tips pop off quickly | Oils left on nail, not enough glue | Dehydrate thoroughly; use a thin, even glue layer |
| Air bubbles under the tip | Weak pressure, wrong size | Press firmly from the cuticle; re-check sizing |
| Tips crack at the free edge | Too much length | Keep extensions to roughly 1.5× your natural nail length |
| Uneven color | Coats applied too thick | Use thin layers and build gradually |
Tips for longer wear
- Wait at least 2 hours after application before soaking hands in water
- Avoid long baths, hot tubs, or swimming for the first 24 hours
- Reapply top coat every 2–3 days to extend wear
- Use your knuckles or tools instead of your nail tips for opening cans or packages
When to see a professional
DIY nail tips are convenient, but booking a nail artist makes sense when:
- Your natural nails are thin, peeling, or damaged
- You want wear time beyond 2–3 weeks
- You want intricate art, 3D charms, or complex sculpted shapes
- You're new to gel products and unsure about lamp curing times
In Vancouver, you can browse nail artists on VanStyle's Explore page — compare portfolios and reviews, then message before you book if you want to discuss a specific design.
Summary
The basics of nail tips come down to five steps: prep → size → adhere → shape → finish. Start with a simple single-color look, then experiment with gradients, chrome, or rhinestones as you get more comfortable.
Whether you do your nails at home or at a salon, matching the method to your lifestyle helps keep your nails healthy and your manicure looking its best.